


Guide til vores Sizescanner
Our goal is to make fitting easy and smooth
The goal of our size scanner is to make the entire process both easier and faster. Below you’ll find our guide to the steps you’ll go through in the app.

1) - Create user
- Download the app
- The app can be downloaded from the App Store or Google Play.
- Before you begin, you can choose your language in the top left corner.
- Create a new user
- Tap Sign up and enter your name, email, and the password you want to use when logging into the app.
- Name = first and last name
- Email = must be a valid email address you have access to
- Password = must contain at least 6 characters, at least one number, and at least one capital letter
- Read and accept the terms and conditions, and you’re ready to go.
- Forgot password
- If you have forgotten your password, you can create a new one.
- You will receive a reset code by email.

2) - Create new request
- My orders
- When you are logged in, you can see your unfinished and completed orders.
- Unfinished orders
- Here you can see the orders you are working on that are still missing information before they can be sent to CHOPAR.
- Completed orders
- These are the requests you have completed and sent to CHOPAR.
- This does not mean that the clothing has been ordered, but that you have submitted a request to CHOPAR. Only once CHOPAR has sent you an order confirmation with prices and an expected shipping date will your order be put into production.
- Create new
- At the bottom center, tap “New order” to create a new order.
- Enter a team name / reference for this order.

3) - Choose your styles
- Select ALL the styles you need for the team.
- Search for the style. (The style number can be found on the website.)
- Once a style has been selected, enter the colors you want for your outfit.

4) - Create Athlete
- Enter the athlete’s name/number (minimum 2 letters/numbers).
- Select which styles this athlete should have. An athlete can order multiple styles but does not need to order all styles (e.g. the girls on the team need a full suit and the boys need pants and a top).
- If you already know the athlete’s size, you can select it now without using the size scanner.
- When you have finished selecting styles for the athlete, tap “Continue without measurements.”
- (You can also go directly to the size scan, but we recommend creating all athletes on the team first.)
- You can add as many athletes as you want.
- When you are done creating athletes, tap “Save and continue.”
- You can return to the athletes later when you are ready to scan them.

5) - Details
- Select the event date – enter the date of your first performance/competition.
- We aim to deliver the clothing before this date. The final delivery date will be stated in your order confirmation, which you will receive by email.
- Enter your personal details.
- Select your club from the list. (Search using the full name, not abbreviations.)
- If you cannot find your club in the list, you can create it manually.
- It is important that we have the correct information about you, your club, and the club’s treasurer to ensure that both clothing and invoices are sent to the correct recipients.
- Accept our terms and conditions and tap “Save and conti

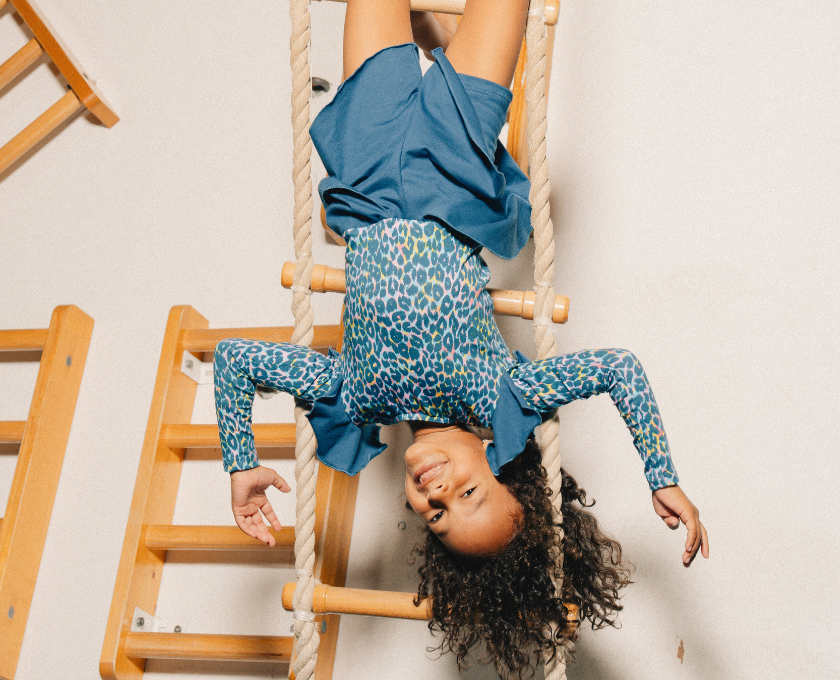
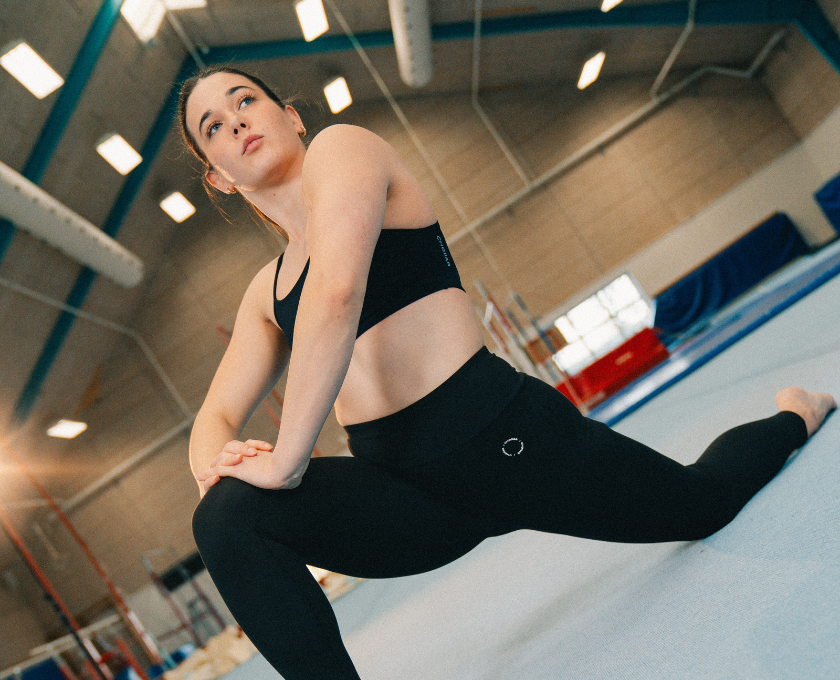
6) - Sizescanner
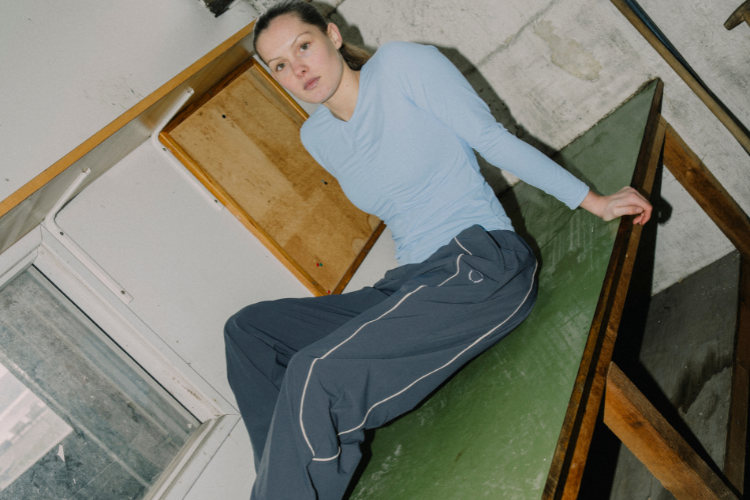
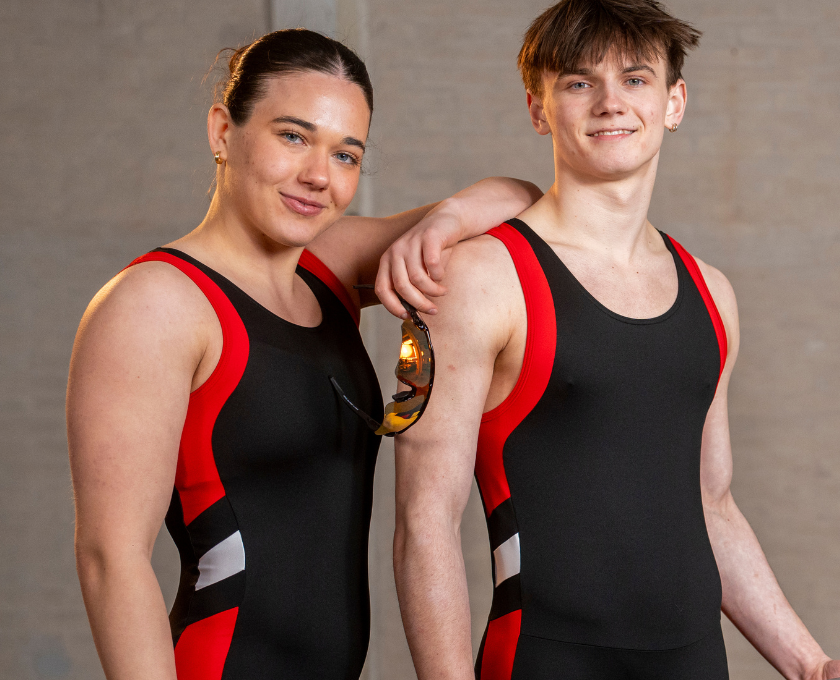
- Clothing and hair
- To achieve the most accurate result, wear close-fitting clothing and no jewelry, watches, etc.
- Long hair must be tied in a ponytail, away from the shoulders and face.
- Background
- A plain background without distracting elements (e.g. paintings, plants, clocks, signs, etc.).
- Phone placement
- Place the phone on the floor with the screen facing the athlete.
- You can lean it against a box, shoes, a bag, or a chair leg.
- Scan
- Follow the on-screen instructions and remain still until the phone has taken the pictures.

7) - Adjust points
- You can move the points by holding your finger on the point for 3 seconds.
- Head top: The top of your head
- Shoulders: The top of the shoulder
- Chest: Where the chest is widest
- Waist: Where you are narrowest
- Hip: Where you are widest
- Wrist: Where the arm ends and the hand begins
- Crotch: Where the leg begins
- Heel: Your heel, which must be placed on the floor
- Check measurements / Manual measurement
- You can check that the app’s measurements are correct by measuring manually with a measuring tape on your body.
- Remember to have someone help you and use our measurement guide.

8) - Choose your sizes
- Choose size
- The recommended size is based on your body measurements.
- We also recommend using common sense in relation to your usual clothing size.
- Please note that the scanner does not take into account which material the style is made in.
- For example, if the garment is made in glitter fabric, which is less stretchy than Dorlastan, the leotard will feel tighter.

9) - Scan yourself / scan from home
- Send invitation
- If you want your gymnasts to do the scan themselves at home, you can send them a link.
- After creating the athlete, you can choose to send them an email with instructions on how to complete the scan themselves instead of scanning them directly.
- Please inform your athletes that they will receive this email and feel free to send them this guide on how to use the size scanner.

10) - Scan yourself / scan from home
- The athlete will receive an email with an individual code.
- The athlete must start by downloading the CHOPAR SizeScanner app via the App Store or Google Play.
- The athlete does NOT need to create a profile. On the login screen, tap “Enter SizeScanner code” and enter the code from the email.
- The athlete then enters their height, selects a profile, and follows the steps for the SizeScanner (step 4 in this guide).
- Once the athlete has completed the scan, the size information will automatically be transferred to the coach’s overall athlete overview.

11) - Profile
- In the bottom left corner you will find your profile.
- Here you can view your personal information
- Choose language
- Delete your account
- Log out
- And read the general terms and conditions for using the app